Getting started with Projects
Last updated: October 1, 2026
This guide takes you from a blank Projects page to a shared Project with context, chats, and a first task started from AI Marketer (Aim) suggestion.
Step 1: Create a Project
From the Projects page
In Profound, go to Projects in the left sidebar and select + New Project. This opens a new Project form.

Enter a Project name and describe the goal under Tell Aim what to work on.
Choose the Visibility for the Project:
- Private: only you and invited members can view and use the Project.
- Your organization: everyone in your Profound organization can view and use the Project.Select Create Project.
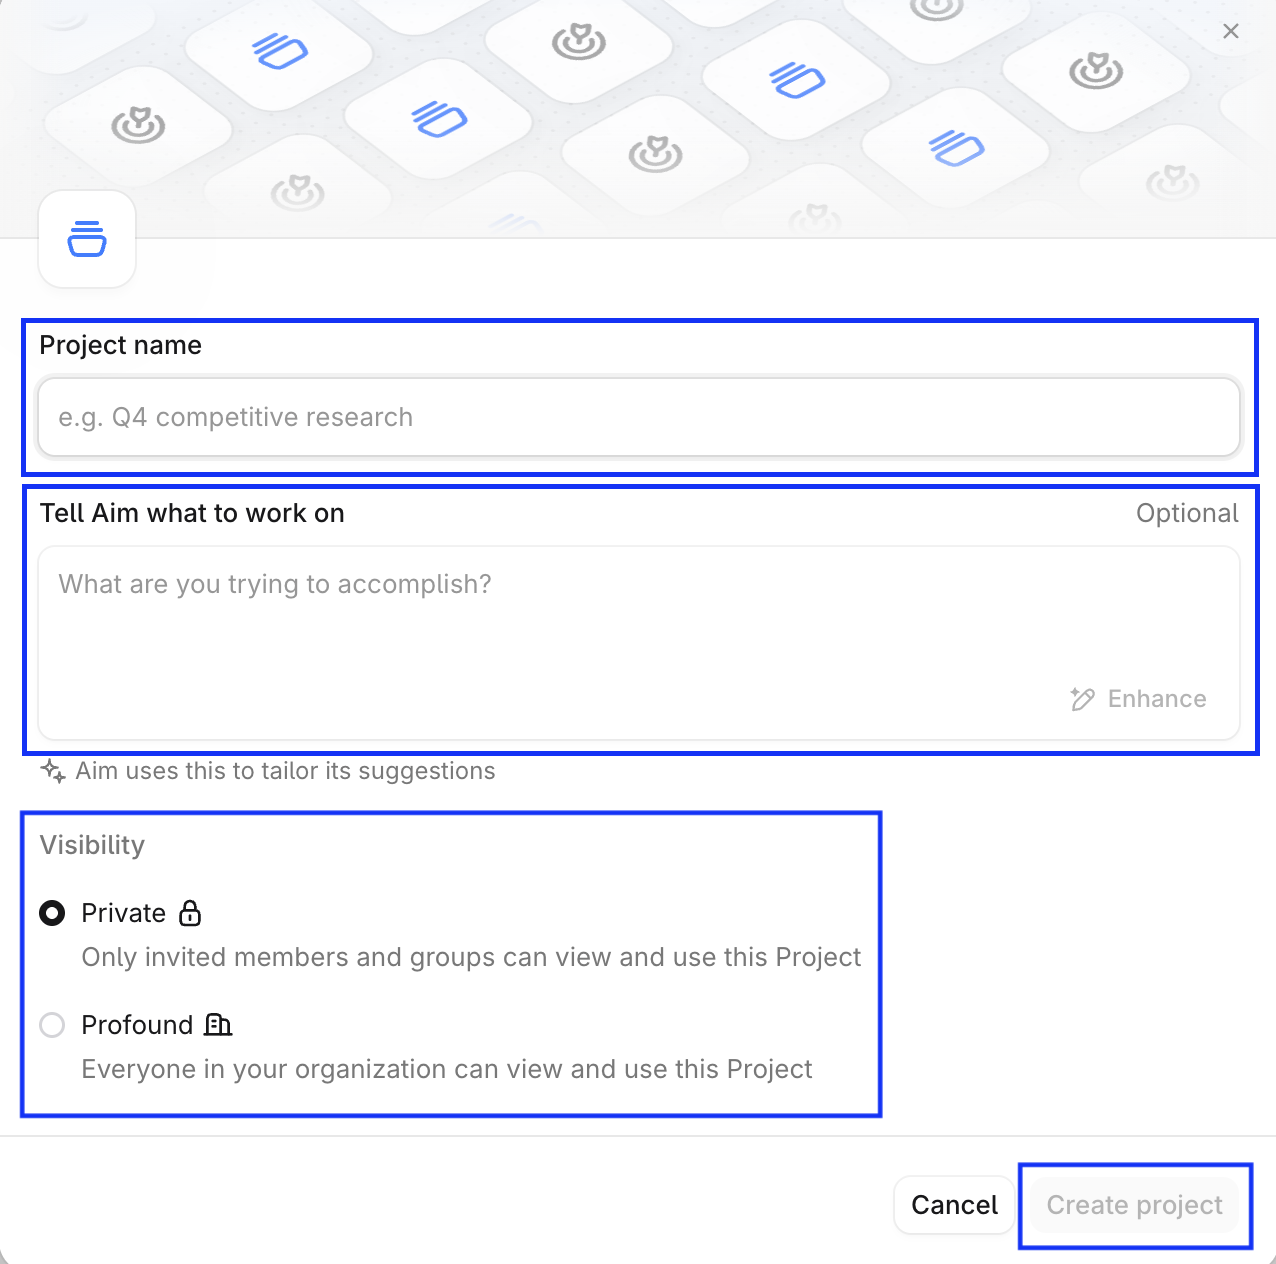
After that, Aim starts generating suggestions for the new Project right away.
From a Project Suggestion
On the Projects page, open a suggestion card under New Project Suggestions. Review its description and tasks, then select Create Project, or select Archive if it isn't useful. To learn more, see Suggestions from Aim.
From Profound’s home page
Under the Aim chat box on the home page, select Start a project > Create a new Project.
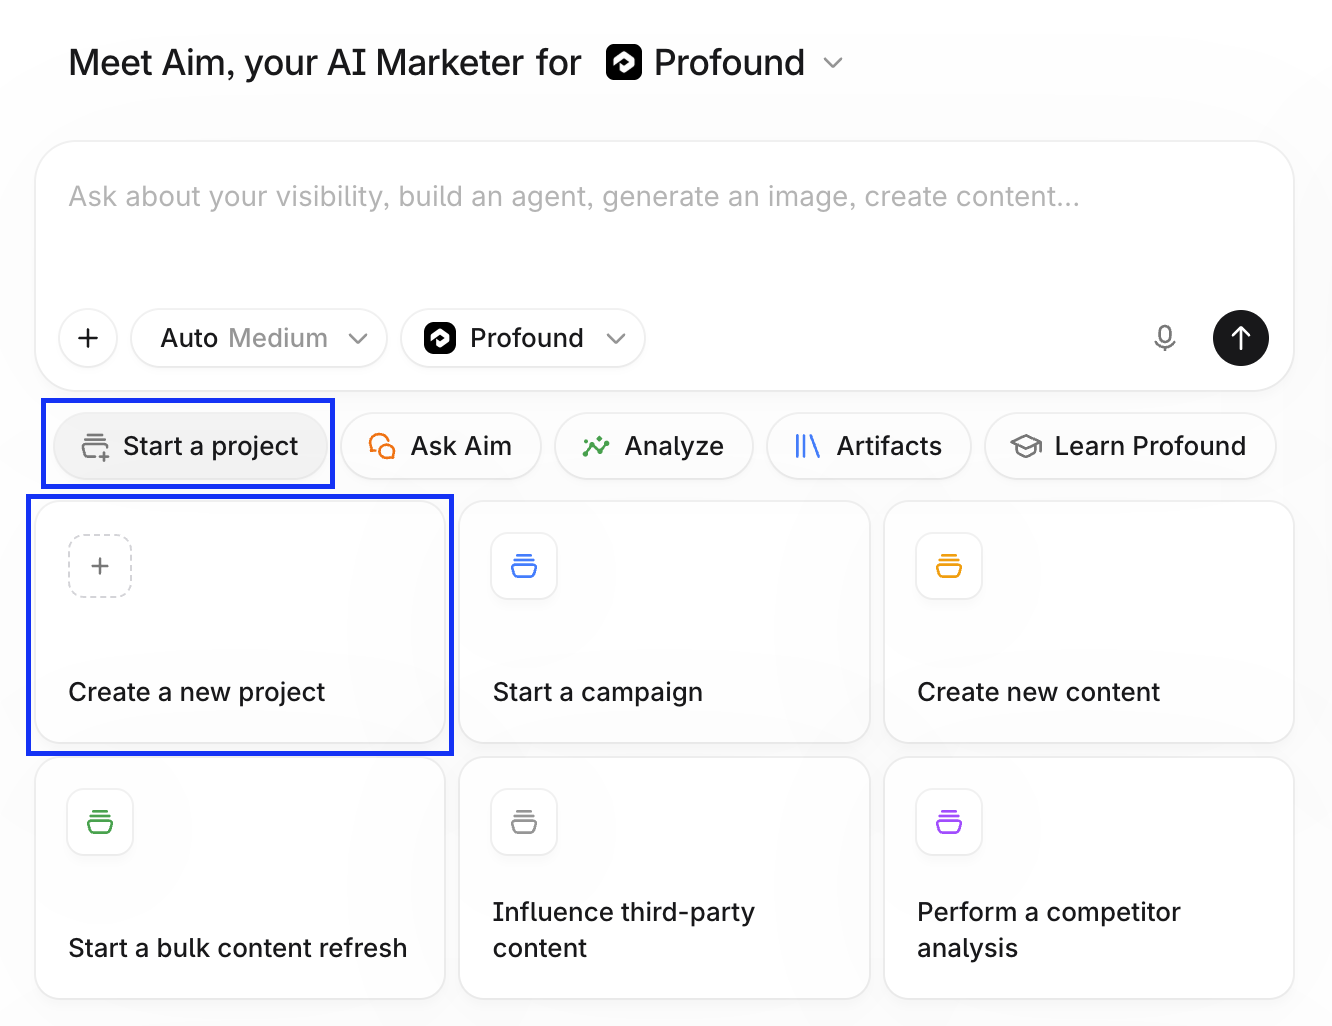
Or ask Aim in the chat box to start a Project, and describe its goal. For example:
Start a Project for our launch of Instant Payouts, a new feature that lets small-business customers move money from their account to their bank in under a minute. It goes live on November 12.
The goal is to make sure that when someone asks an AI assistant about instant payouts for small businesses, or compares payout speeds between us and other payment providers, we show up and the answer describes the feature correctly.
That's enough for Aim to analyze your context and suggest tasks. If you already know which tasks you want, describe them in the prompt.
If you're not sure what to ask, select Start a project under the chat box and choose a template, such as Create new content or Perform a competitor analysis. The template pre-fills a brief in the chat box. Tailor it to your goals and send it. Aim asks for anything it still needs, proposes a plan for you to review, and creates the Project.
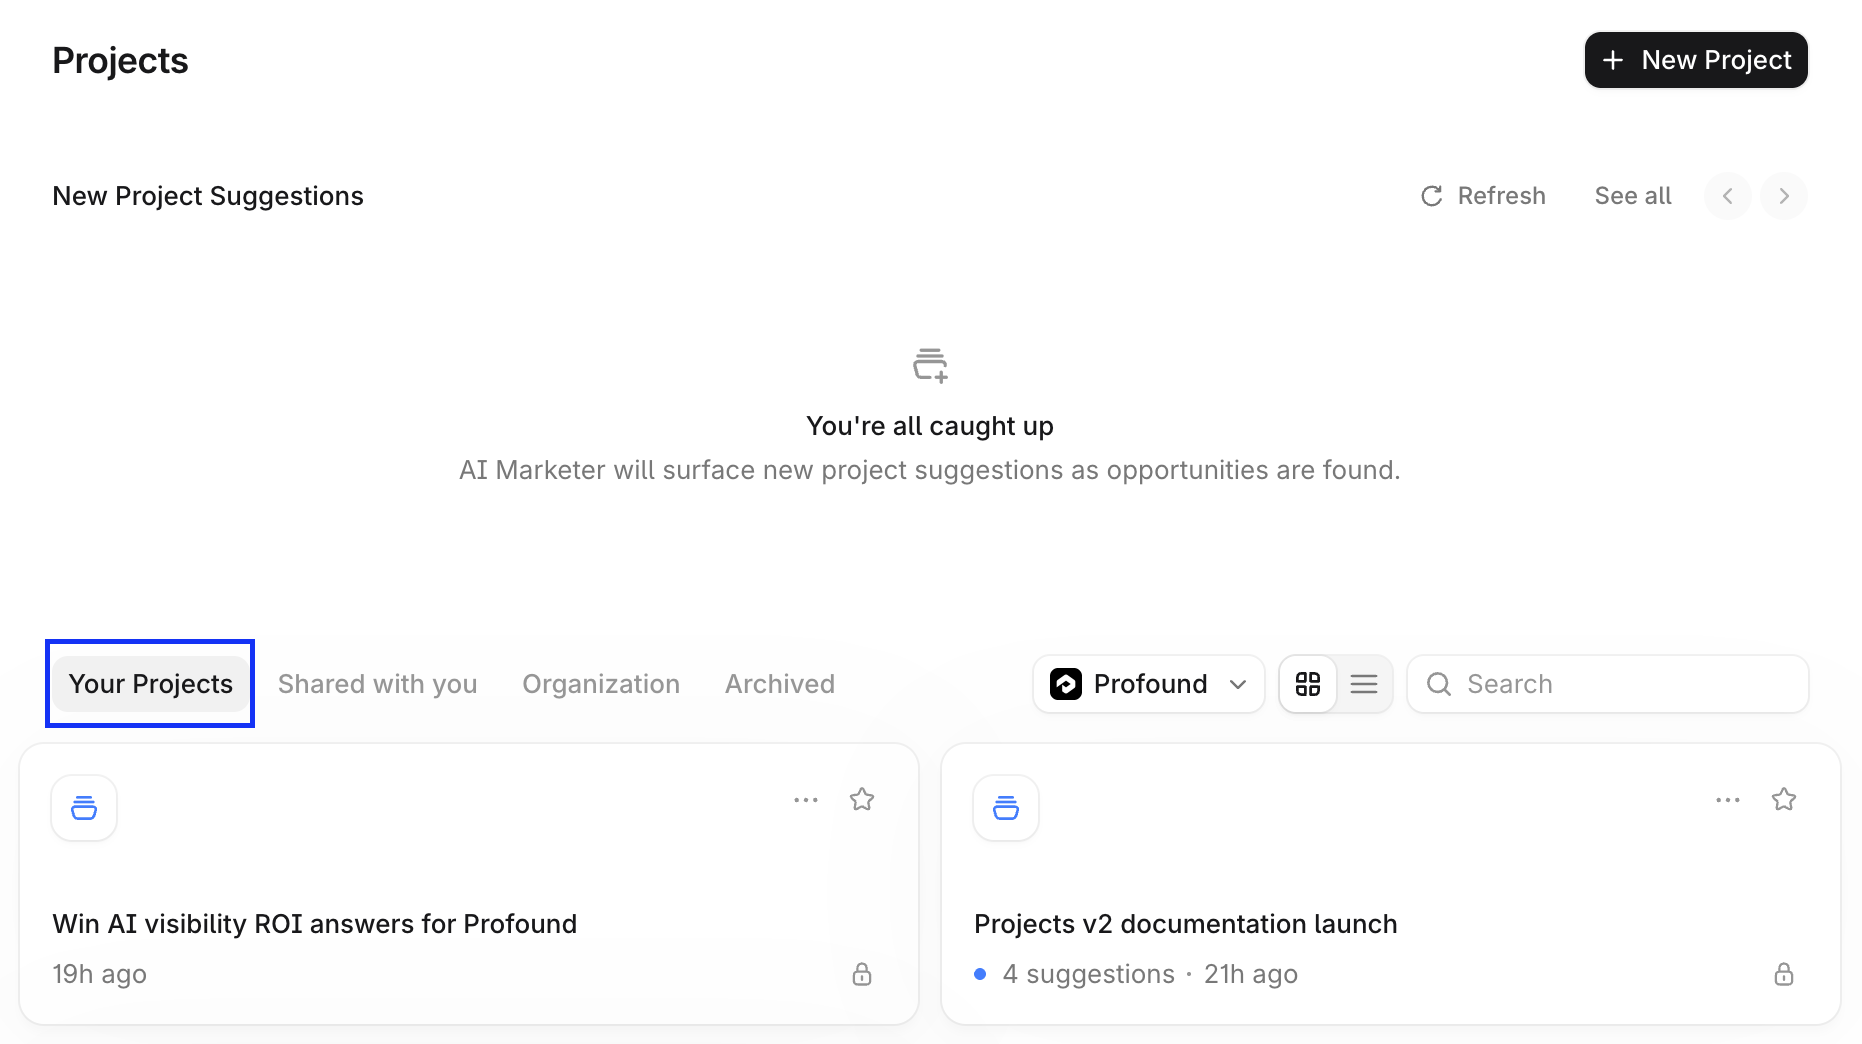
New Projects appear on the Projects page under Your Projects. Select a Project to open its page.
Step 2: Add instructions and context
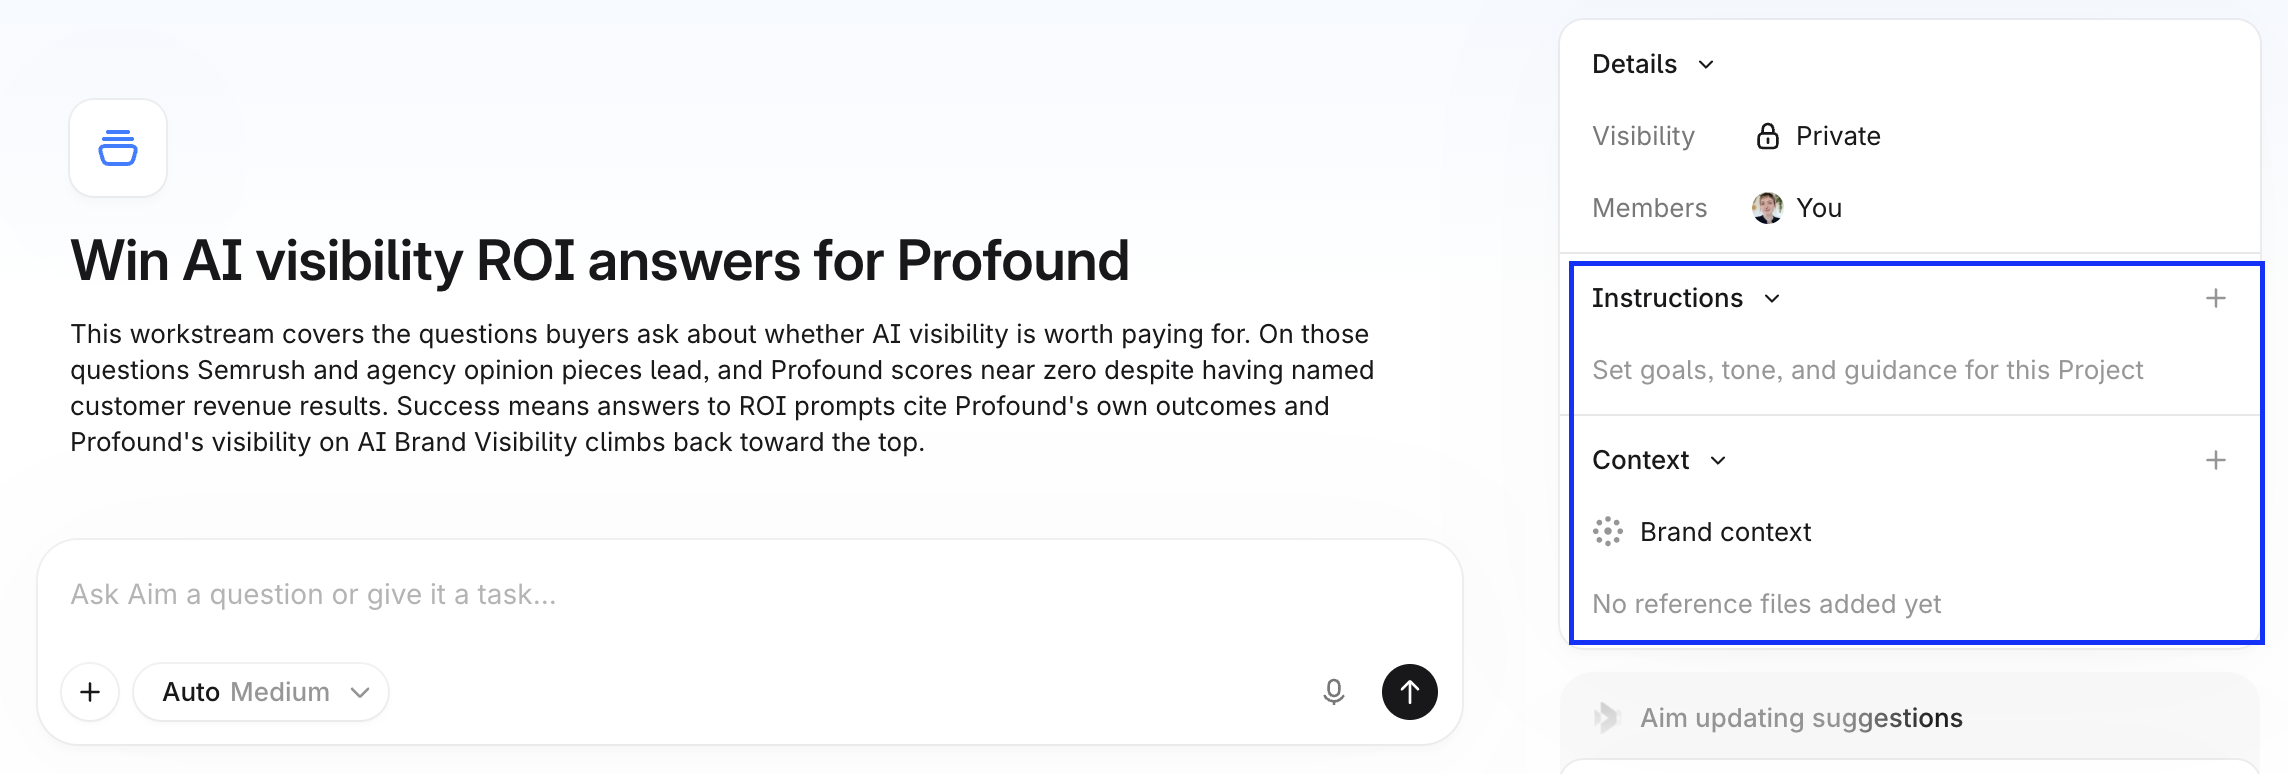
The right sidebar of the Project page has Instructions and Context sections.
Add instructions
Select + next to Instructions, and set the goals, tone, and guidance Aim follows in this Project. For example:
Write in plain, confident English. Use short sentences, no jargon, and no exclamation marks.
or
Only make claims about speed, fees, and availability that appear in the launch brief attached to this Project.
Add context
Select + next to Context to add files, photos, or documents from your Knowledge Bases. Aim uses this context in every chat in the Project and to shape its suggestions.
Step 3: Work on tasks in chats
The Project page opens to a chat box. Ask Aim a question or give it a task. Aim answers using the Project's instructions and context, and saves the chat to the Project so you can return to it anytime.
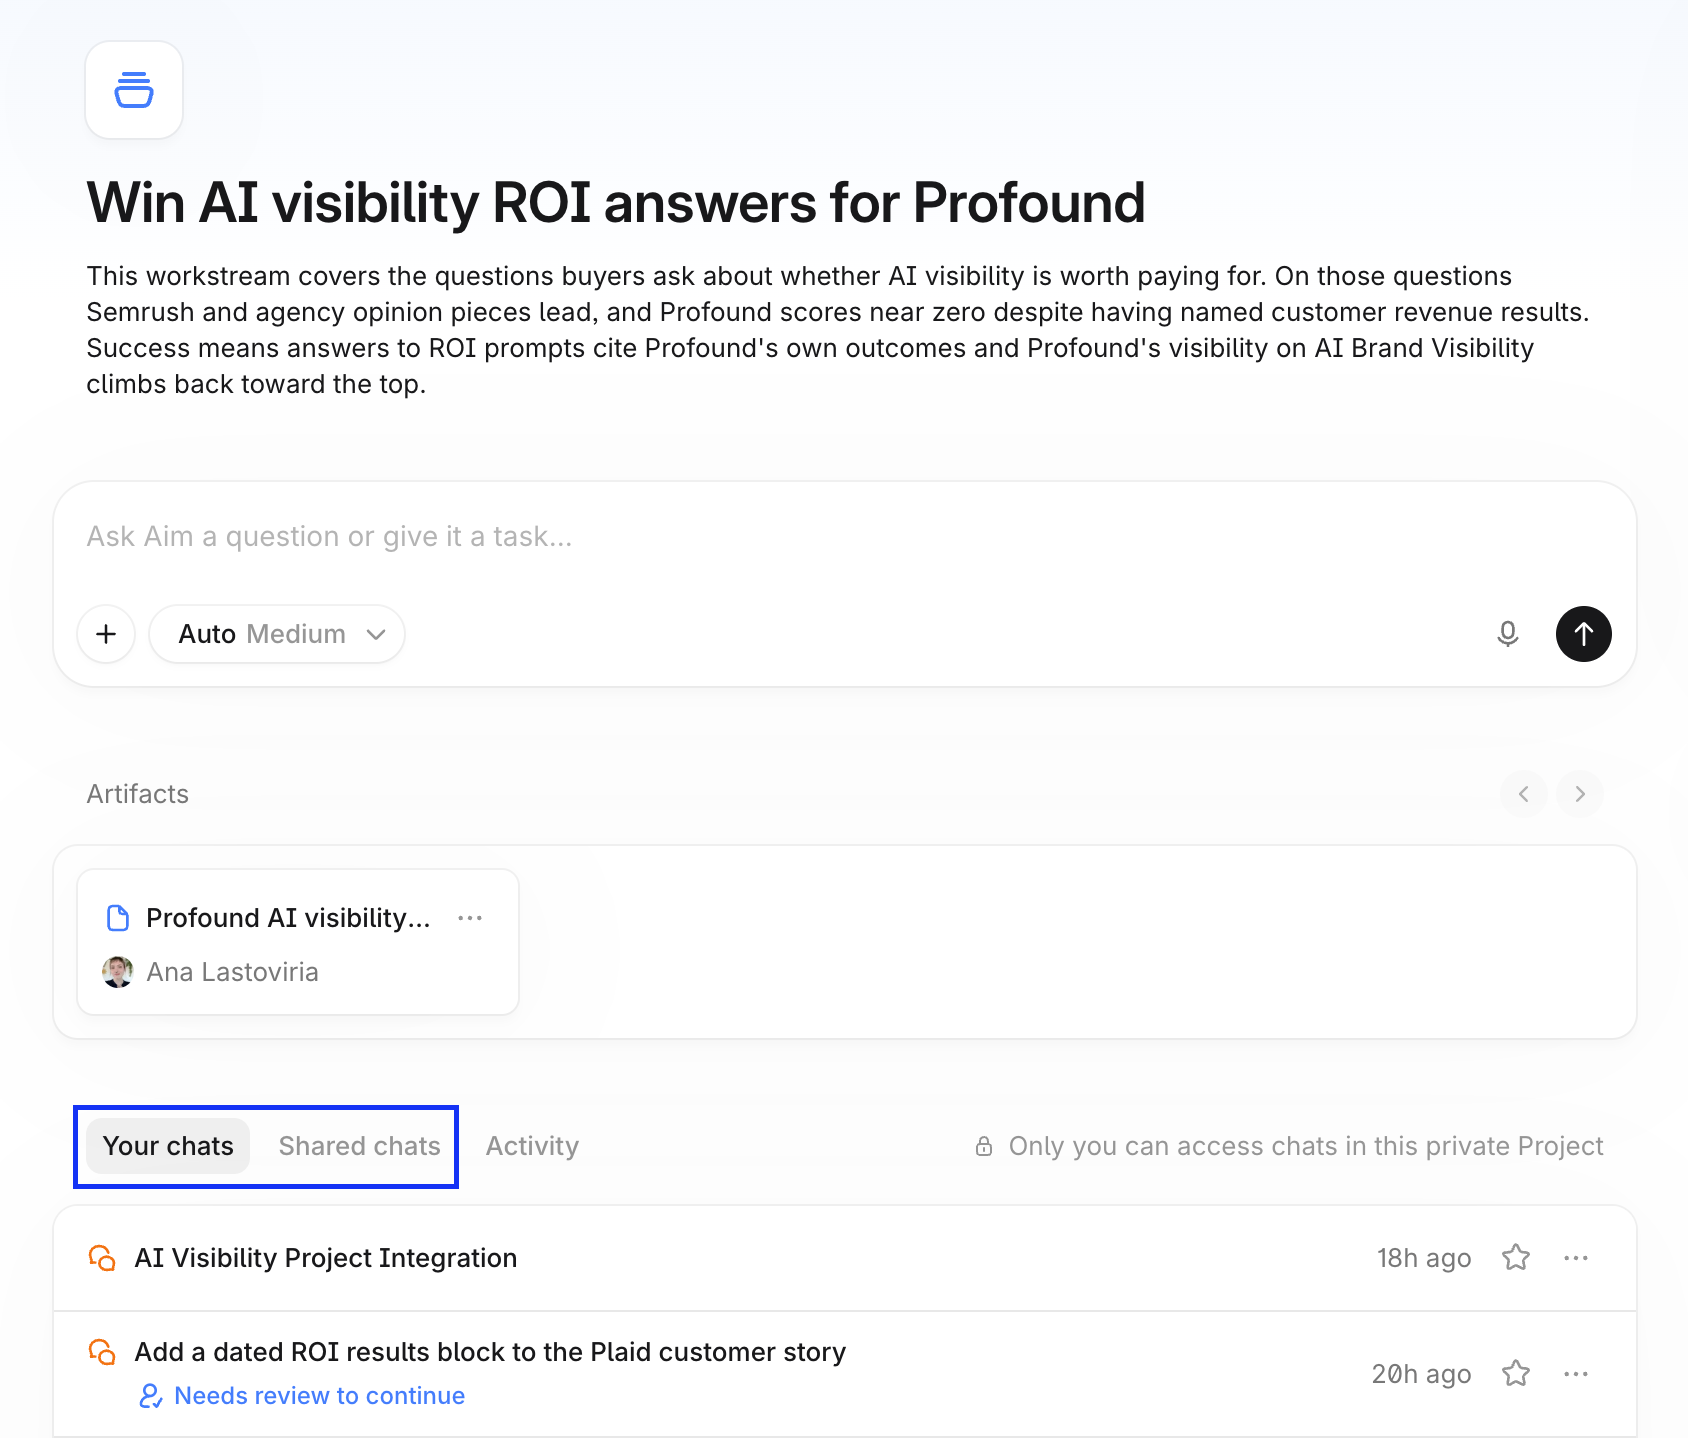
The chats you start appear in the Your chats tab, and chats shared with you appear in the Shared chats tab. If Aim is waiting for your reply, the chat's status shows Needs review.
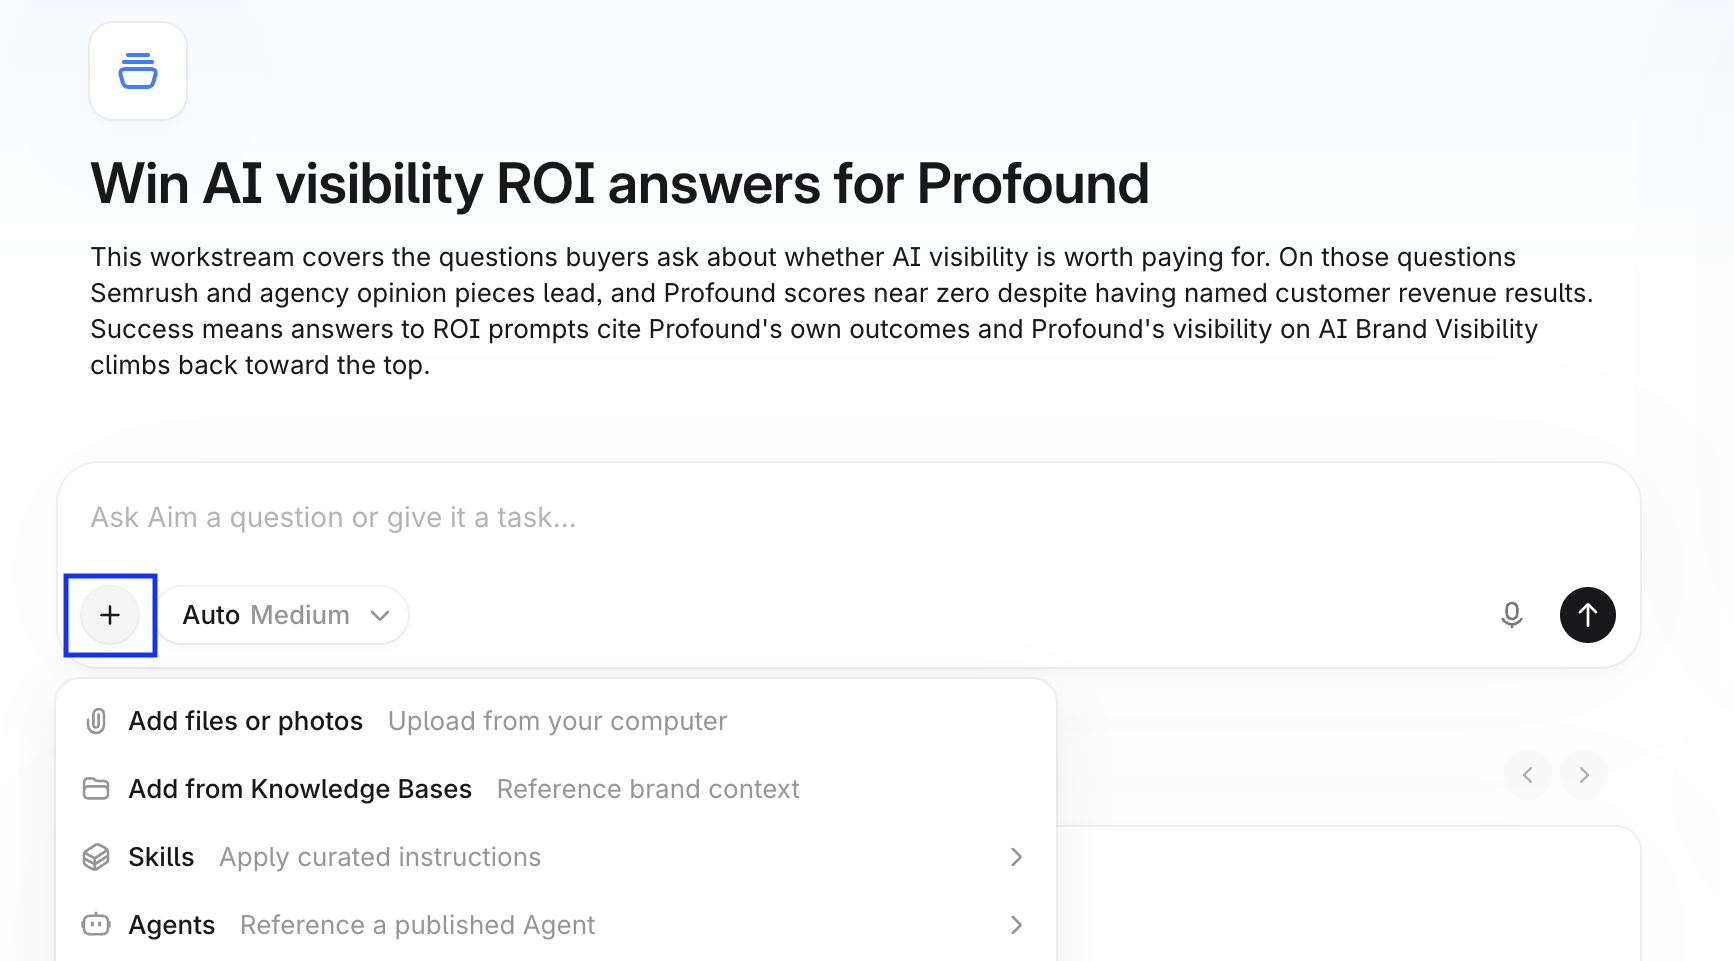
Add files, skills, or Agents
In the chat box, select + to add files, images, Knowledge Base documents, or Agents, or to connect external tools. You can also type / in a chat to add files or skills, or to reference an Agent.
Step 4: Start a task from a Suggestion
In the right sidebar of the Project page, open the Suggestions for you panel.
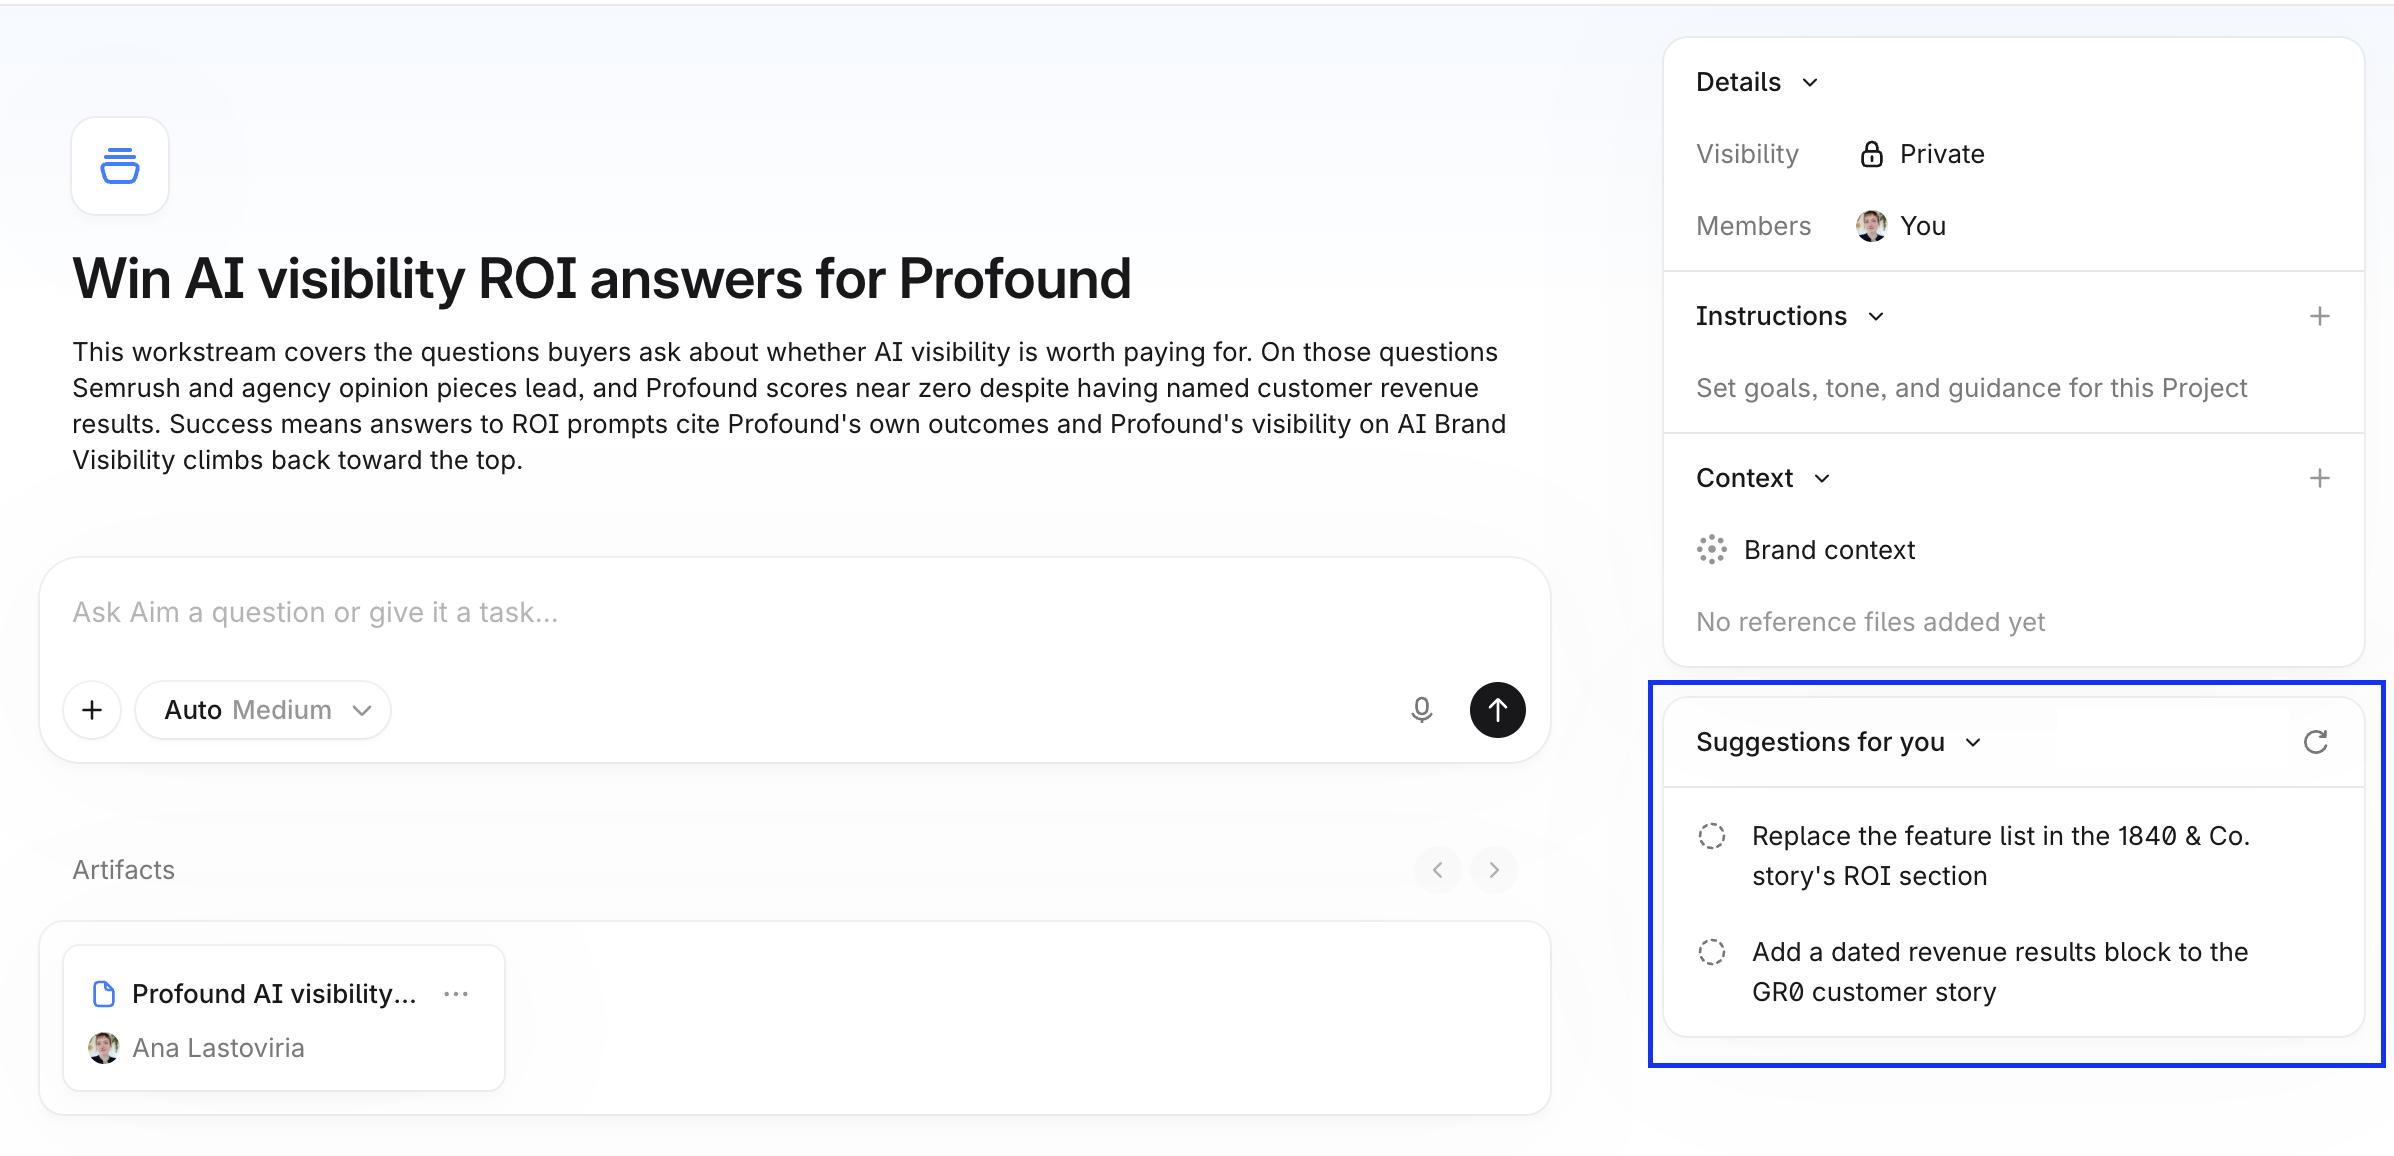
Each Suggestion is a task Aim recommends based on the Project's context and previous chats. Open one to see its summary, plan, category, sources, and why it’s useful.
To act on a Suggestion, select Start task on its card. Aim opens a new chat and starts on the plan. To dismiss a Suggestion, select Archive.
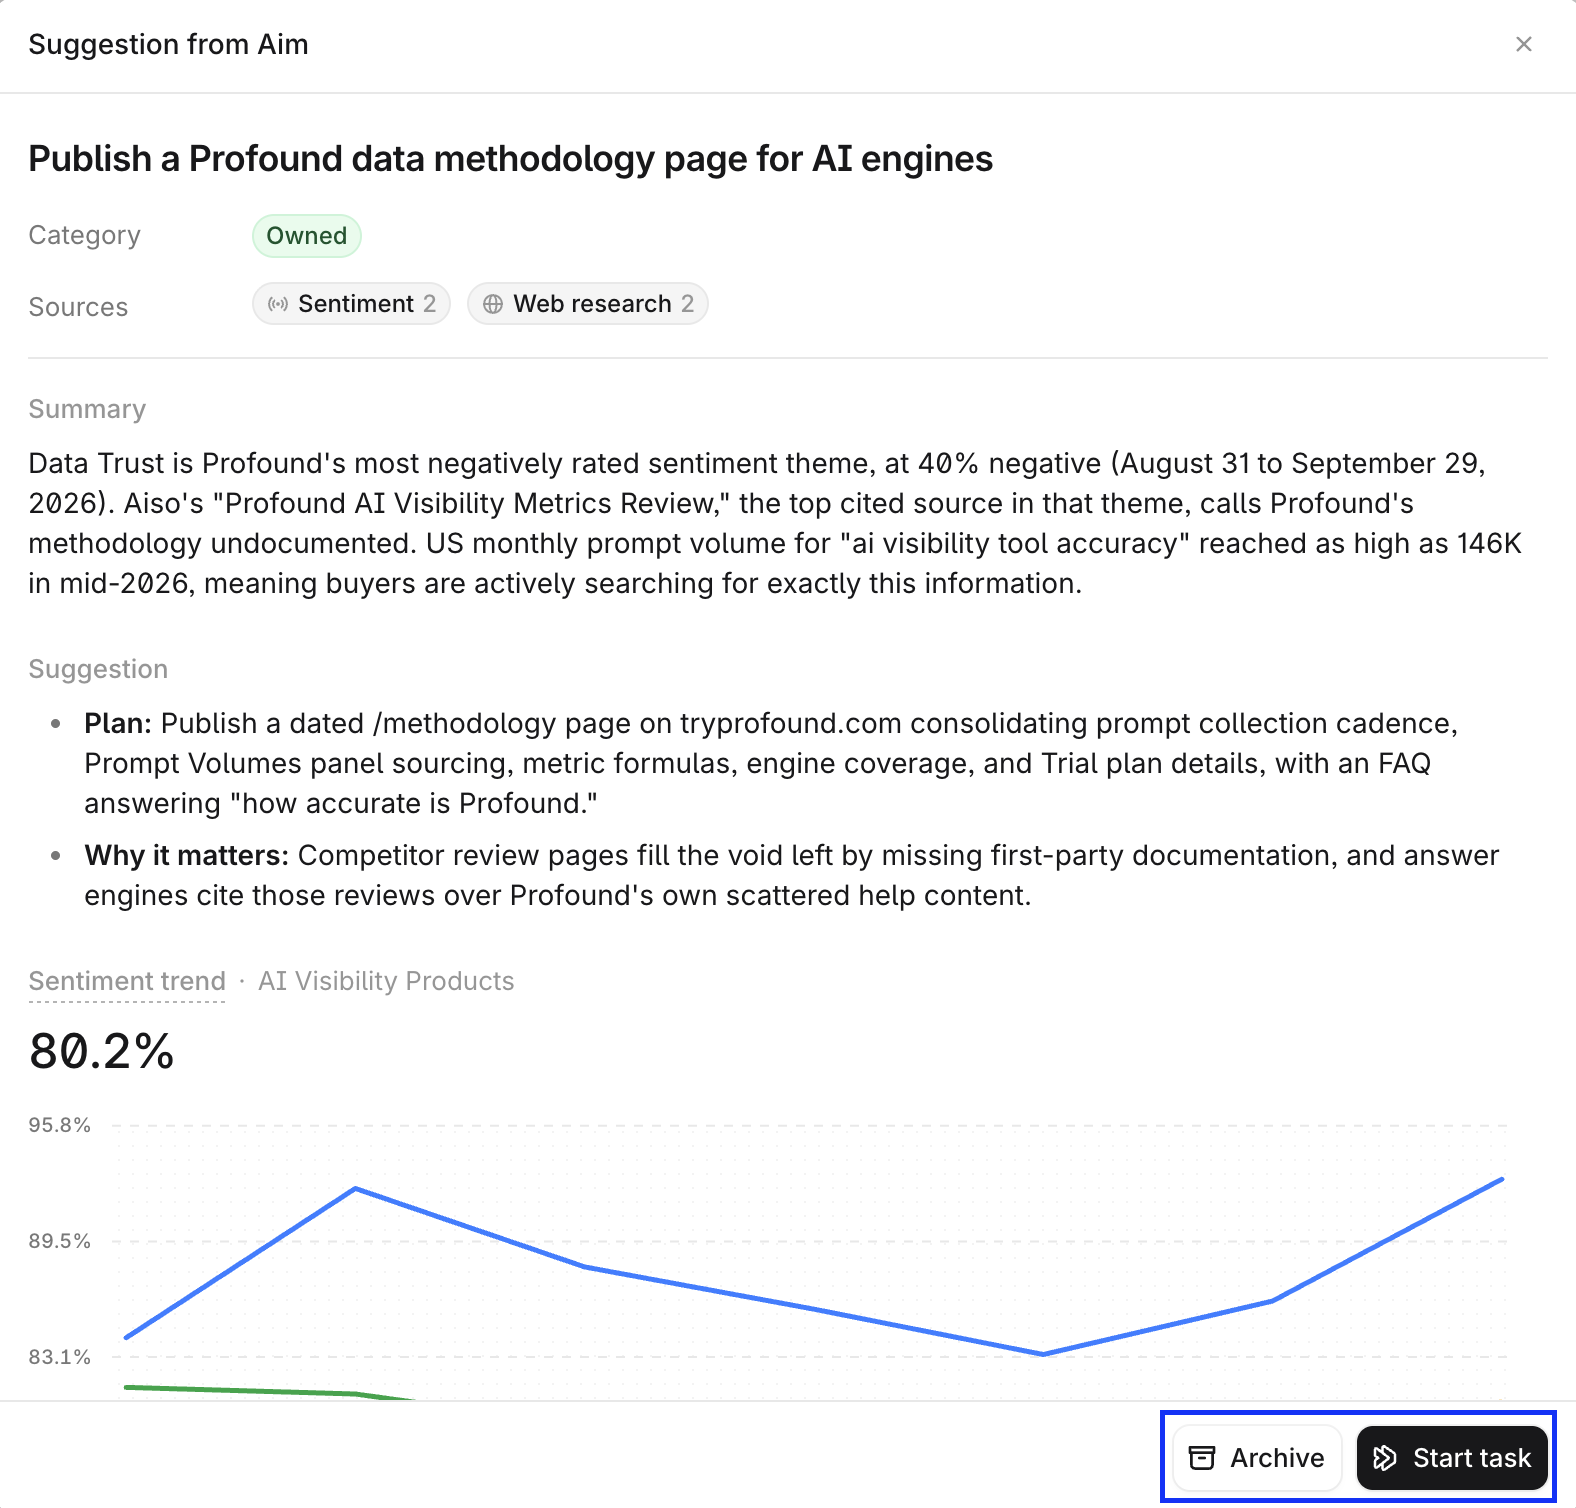
Add feedback when you archive a Suggestion to improve future Suggestions.
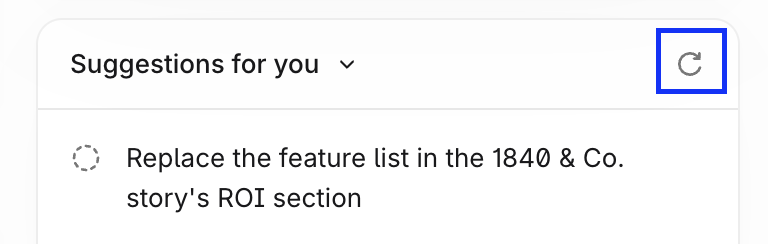
To check for new Suggestions, select the refresh icon on the panel.
Step 5: Share the Project with your team
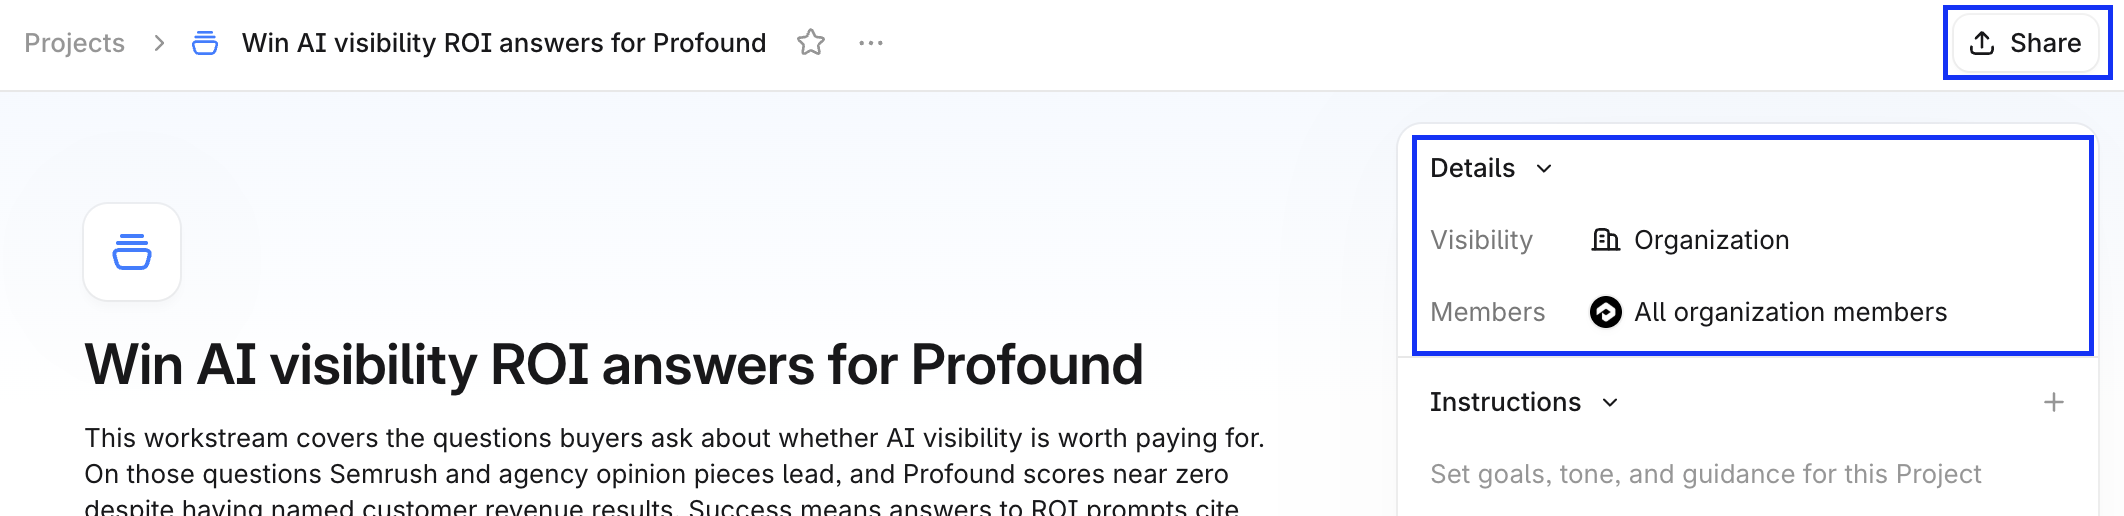
At the top of the Project page, select Share. Set general access to Your organization, or choose Only people invited and search for people in your organization to invite. Invited members appear under Details in the right sidebar on the Project page.
Members see the Project, its context, and its chats, and can start chats and add Artifacts of their own. Each chat is view-only for everyone except the member who started it. Artifacts from every chat appear in the Project's Artifacts section, where any member can open them.