Getting started with FactCheck
Last updated: September 16, 2026
Step 1: Open the FactCheck tab
Go to Answer Engine Insights > FactCheck. The first time you open the tab, an onboarding screen guides you through setup: assigning the FactCheck analysis type to your prompts and connecting a Knowledge Base.
Step 2: Choose your prompts
From the onboarding screen, open the Prompt Designer.
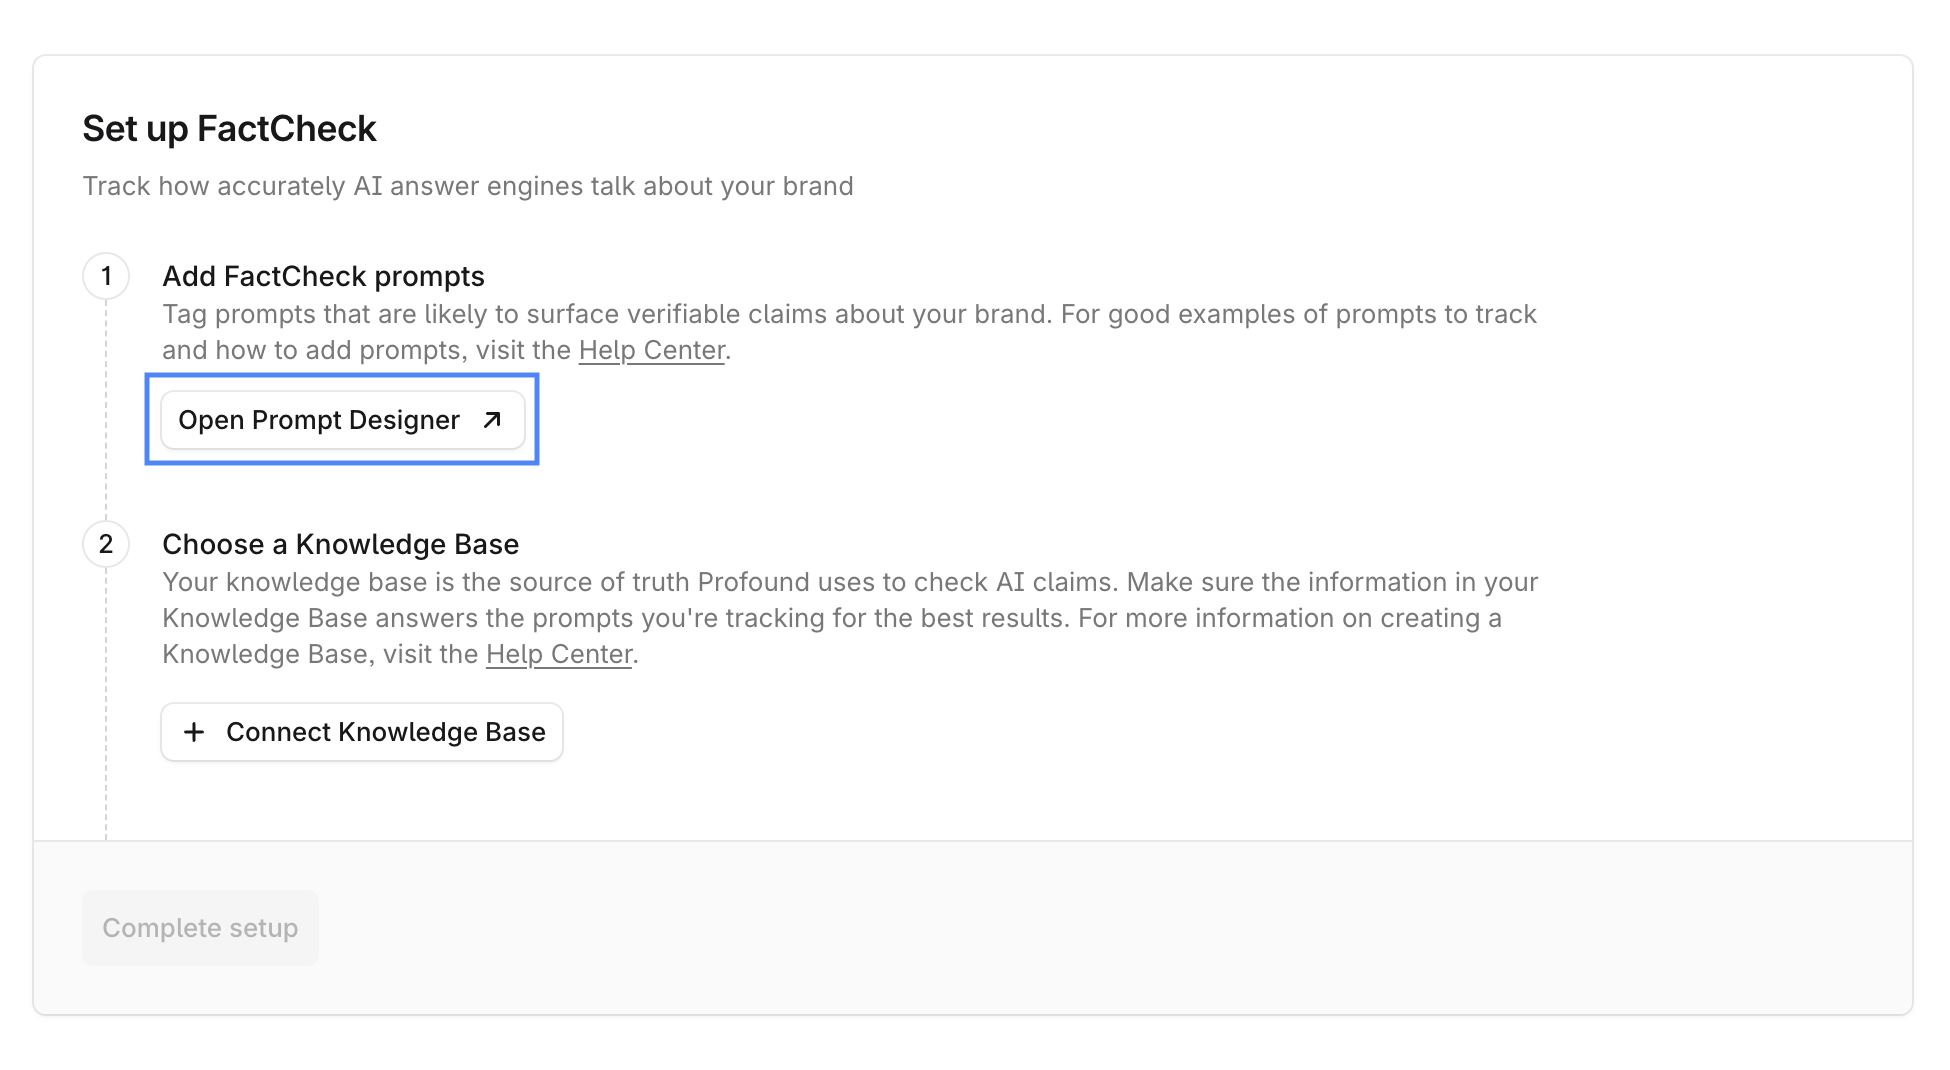
Select 100 to 200 fact-based prompts that are likely to surface verifiable claims about your brand. Good candidates include prompts about product specifications, pricing, policies, safety claims, features, and service terms. Avoid opinion-based or subjective prompts.
To learn more about FactCheck prompt best practices, see 📄 How to get the best results working with FactCheck.
After you select the prompts, go to Edit > Analysis Types and set their analysis type to FactCheck.
If you're already tracking prompts for Visibility or Sentiment, you can add FactCheck to those or create new prompts specifically for FactCheck.
Step 3: Connect a Knowledge Base
On the onboarding screen, select the + Connect Knowledge Base and select the Knowledge Base you want FactCheck to use as its source of truth.
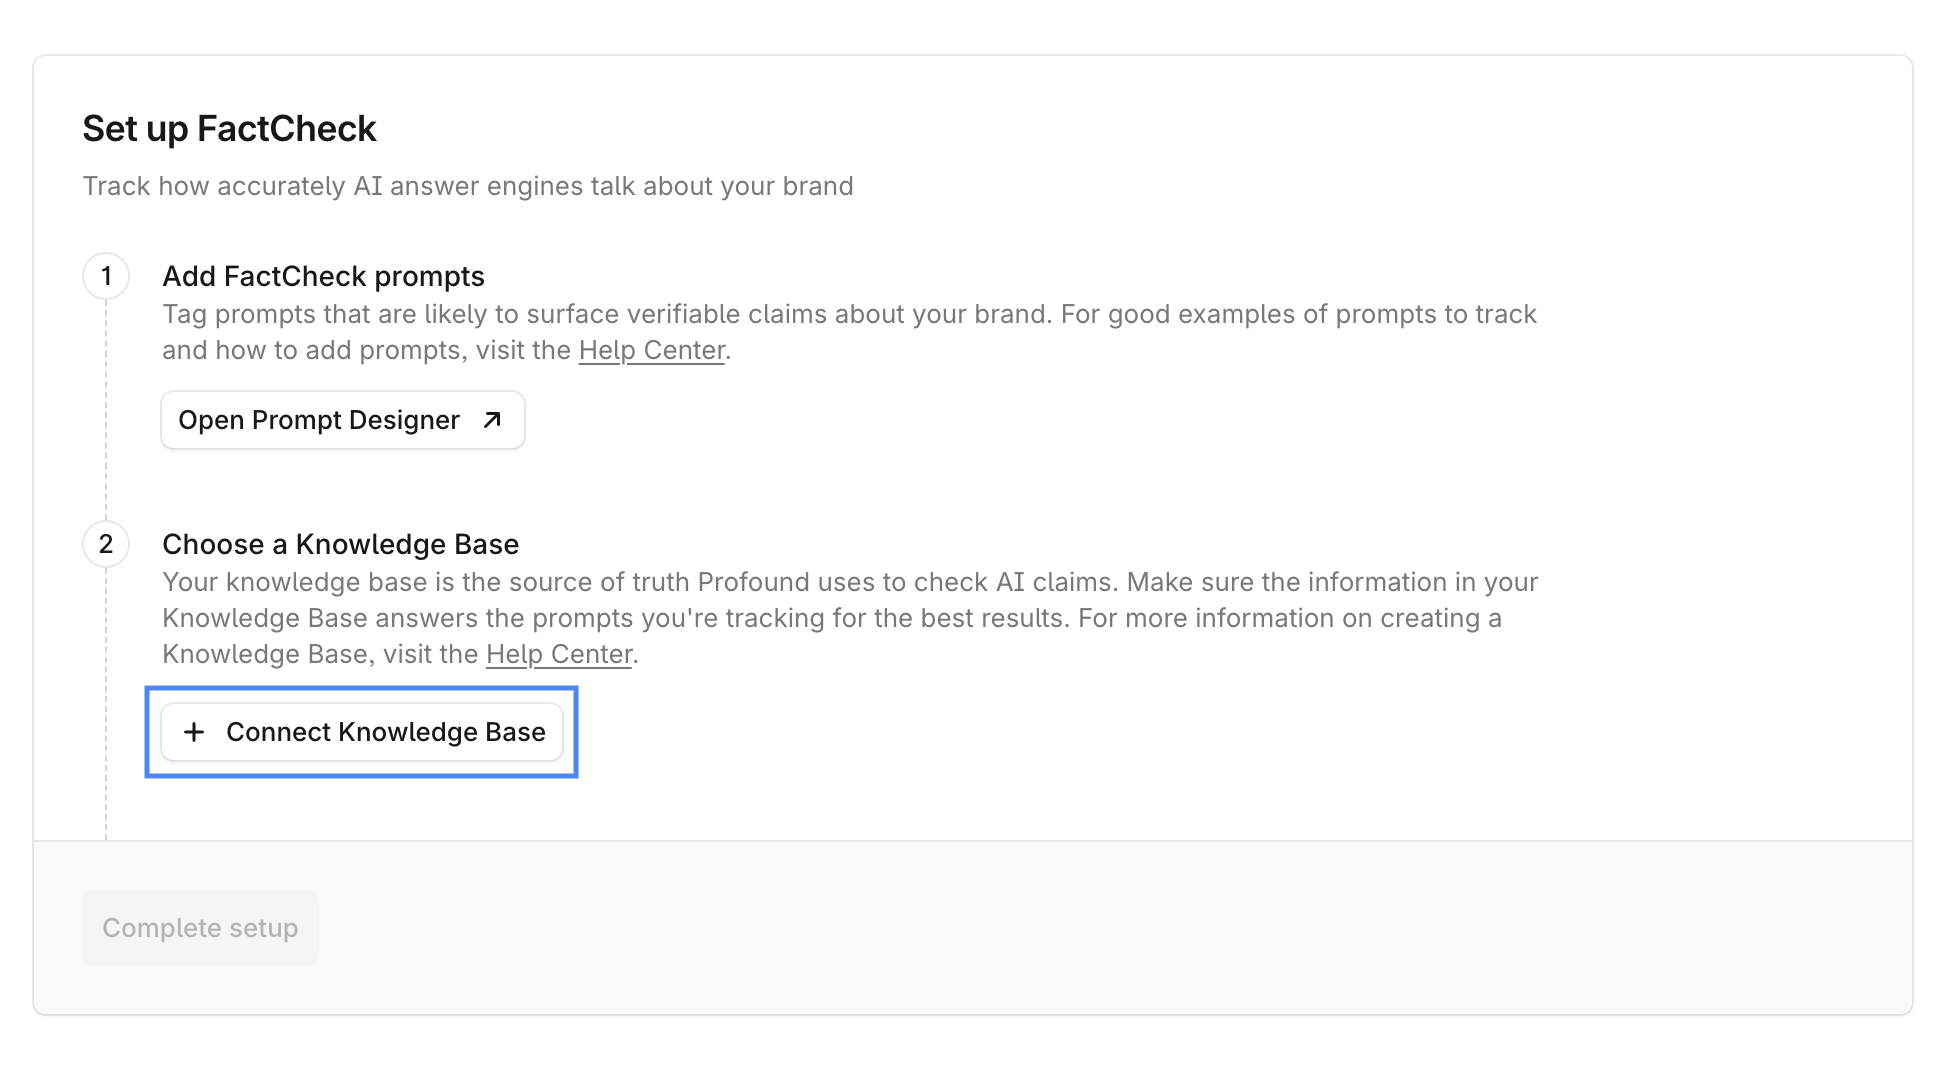
FactCheck uses the entire Knowledge Base, so there's no need for a special file structure. Organize your documents however works best.
If you don't yet have a Knowledge Base you want to set up with FactCheck, go to Knowledge Bases in the left navigation menu, create a Knowledge Base, and upload your documentation as described in 📄 Create and manage Knowledge Bases.
You can connect only one Knowledge Base to FactCheck. Learn more about Knowledge Base best practices and setup limitations in 📄 How to get the best results working with FactCheck.
Step 4: Complete setup
Once your prompts carry the FactCheck analysis type and a Knowledge Base is connected, select Complete setup.
Step 5: Explore the results
FactCheck results typically take 7 days to appear. Once available, go to Answer Engine Insights > FactCheck to review them:
Browse Inaccurate Claims by theme and expand themes to view the claims and the ground truths they were evaluated against.
Review the Accuracy Breakdown per citation, platform or prompt. Select citations or prompts to open a detailed analysis view.
Step 6: Take action
Review the Inaccuracy Drivers table. It lists the pages that drive the most inaccurate claims about your brand. Take action directly from the table: select Draft Outreach in the Suggested Action column and have AI Marketer build an Agent to draft outreach for that source.